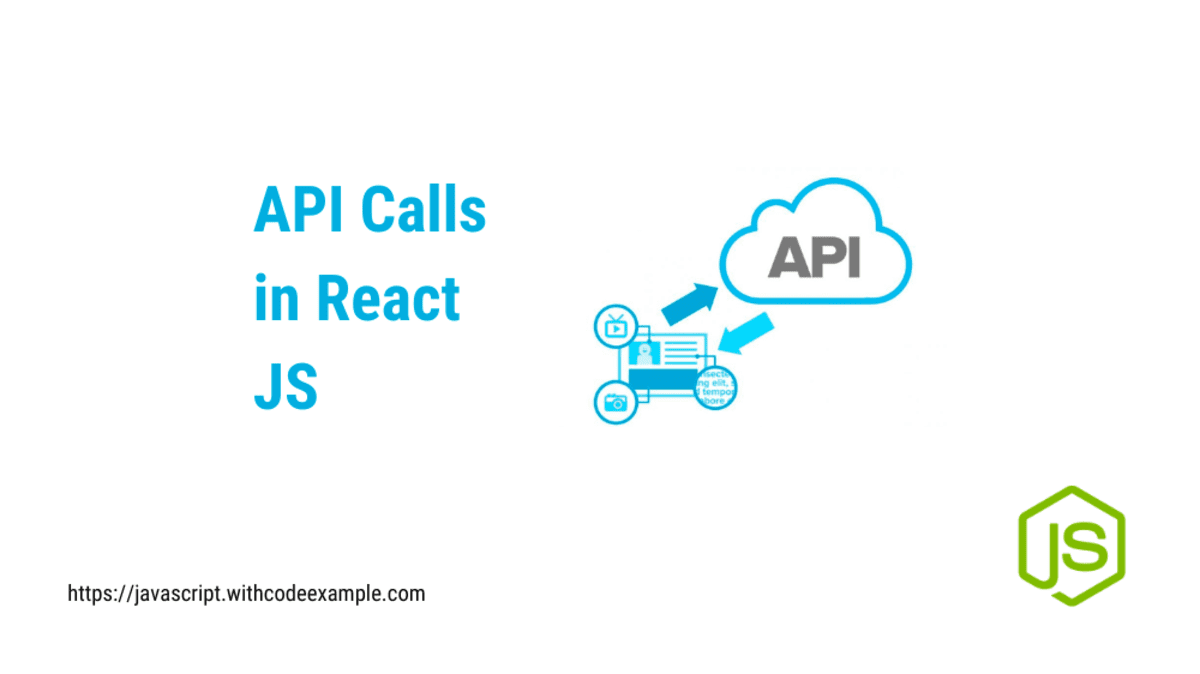
Mastering API Calls in React JS with Examples
- With Code Example
- August 24, 2023

React JS has redefined the landscape of front-end development with its component-based architecture and reactive nature. To build feature-rich and dynamic web applications, integrating external data sources through API calls is essential. This article is your ultimate guide to mastering API calls in React JS. We’ll provide clear explanations and real-world examples to equip you with the skills needed to seamlessly incorporate API data into your React applications.
Why API Calls in React JS?
API calls are the bridge between your React application and external data sources, empowering you to access real-time information and create dynamic user experiences. Whether you’re fetching data from a RESTful API, handling authentication, or sending data to a server, understanding how to make API calls is a fundamental skill for any React developer.
Prerequisites
Before we dive into the intricacies of making API calls in React JS, ensure you have the following prerequisites:
Basic React Knowledge: Familiarity with React components, state, and lifecycle methods is essential.
Create React App: Set up a React project using Create React App or your preferred method.
API Endpoint: Identify an API you want to work with and obtain the endpoint and any necessary authentication details.
Making API Calls in React JS: Step-by-Step
Follow these steps to master the art of making API calls in React JS:
Step 1: Choose an HTTP Library
Select an HTTP library for making API calls. Popular choices are Axios and the Fetch API.
- Axios: A promise-based library with a simple and intuitive syntax.
- Fetch API: A native browser feature for fetching resources across the network.
Step 2: Install the Library
Install the chosen library using npm or yarn. For Axios, run:
npm install axios
Step 3: Import the Library
Import the library at the beginning of the component where you plan to make the API call. For Axios:
import axios from 'axios';
Step 4: Make the API Call
Inside your component, use the imported library to make the API call. Let’s fetch data from a hypothetical JSON API:
class ApiCallExample extends React.Component {
    componentDidMount() {
        axios.get('https://api.example.com/data')
            .then(response => {
                console.log(response.data);
            })
            .catch(error => {
                console.error('Error fetching data:', error);
            });
    }

    render() {
        return <div>API Call Example</div>;
    }
}

export default ApiCallExample;
Step 5: Handle the Response
Depending on the API response format, access and manipulate the data as needed. Update the component’s state or render UI elements with the fetched data.
Handling Asynchronous Operations
API calls are asynchronous, so manage them using async/await with Axios or the .then() and .catch() methods. Example using async/await:
async componentDidMount() {
    try {
        const response = await axios.get('https://api.example.com/data');
        console.log(response.data);
    } catch (error) {
        console.error('Error fetching data:', error);
    }
}
Example: Displaying API Data
Let’s extend our previous example to display the fetched data in the component’s render method:
class DisplayDataExample extends React.Component {
    constructor(props) {
        super(props);
        this.state = {
            data: null
        };
    }

    componentDidMount() {
        axios.get('https://api.example.com/data')
            .then(response => {
                this.setState({ data: response.data });
            })
            .catch(error => {
                console.error('Error fetching data:', error);
            });
    }

    render() {
        const { data } = this.state;

        return (
            <div>
                {data ? (
                    <ul>
                        {data.map(item => (
                            <li key={item.id}>{item.name}</li>
                        ))}
                    </ul>
                ) : (
                    <p>Loading data...</p>
                )}
            </div>
        );
    }
}

export default DisplayDataExample;
Handling Errors and Loading States
Provide user-friendly feedback during API calls. Display loading spinners or placeholders while waiting for data. Update the error state when an error occurs and show an appropriate message to the user.
Conclusion
Congratulations! You’ve gained a comprehensive understanding of making API calls in React JS. The ability to integrate external data sources into your applications opens doors to creating dynamic and engaging user experiences. By following the steps outlined in this guide and exploring the practical examples provided, you’re well-equipped to confidently implement API calls in your React projects. Keep honing your skills, experimenting with different APIs, and pushing the boundaries of what you can achieve with React’s powerful capabilities. Happy coding!
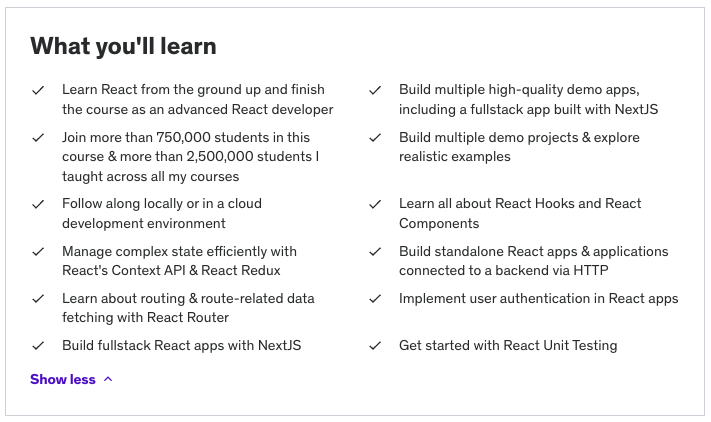
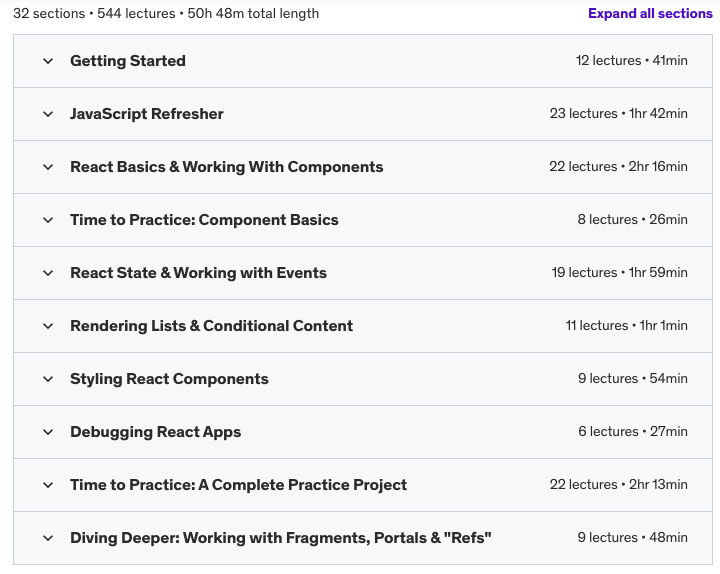
- Name - React - The Complete Guide 2023 (incl. React Router & Redux)
- Rating - 4.6/5 (192,833 ratings)
- Students - 771,443
- Highlights - 50.5 hours on-demand video | 15 coding exercises | Assignments | 58 articles | Certificate of completion


