Top 10 React.js Projects for Beginners to Learn
- With Code Example
- October 16, 2023
React.js, often referred to as React, is an open-source JavaScript library for building user interfaces. It has gained immense popularity over the years due to its simplicity and efficiency in creating dynamic web applications. For beginners, React offers an excellent entry point into the world of front-end development. To help you get started on your React journey, we’ve compiled a list of the top 10 React.js projects for beginners. These projects are carefully chosen to provide a progressive learning experience while covering various aspects of React development. So, let’s dive in and explore these projects step by step.
1. Hello World in React
Transitioning into a new technology often starts with the classic “Hello World” program. In the React world, this means creating a simple component that displays “Hello, World!” on a web page. Here’s how you can achieve this in React:
import React from 'react';

function HelloWorld() {
  return (
    <div>
      <h1>Hello, World!</h1>
    </div>
  );
}

export default HelloWorld;
This is your first React component. You can include it in your project and see “Hello, World!” rendered in the browser. It’s a basic example, but it introduces you to the fundamental structure of a React component, JSX, and the concept of rendering.
2. To-Do List App
The next step is to create a simple To-Do list application. This project is ideal for learning how to manage and update the state in React. You’ll also get hands-on experience with event handling. Here’s a basic example of a To-Do list in React:
import React, { useState } from 'react';

function TodoApp() {
  const [todos, setTodos] = useState([]);
  const [input, setInput] = useState('');

  const addTodo = () => {
    setTodos([...todos, input]);
    setInput('');
  };

  return (
    <div>
      <h1>Todo List</h1>
      <input type="text" value={input} onChange={(e) => setInput(e.target.value)} />
      <button onClick={addTodo}>Add</button>
      <ul>
        {todos.map((todo, index) => (
          <li key={index}>{todo}</li>
        ))}
      </ul>
    </div>
  );
}

export default TodoApp;
This project introduces you to the useState hook, which allows you to manage the state of your application. It’s a practical way to learn how to create interactive applications.
3. Weather App
Building a Weather App is an excellent project for beginners to explore making API requests and handling data. This project involves connecting to a weather API and displaying the current weather information based on user input (e.g., city or ZIP code). Here’s a simplified example using the OpenWeatherMap API:
import React, { useState, useEffect } from 'react';

function WeatherApp() {
  const [location, setLocation] = useState('');
  const [weather, setWeather] = useState(null);

  const API_KEY = 'YOUR_OPENWEATHERMAP_API_KEY';

  useEffect(() => {
    if (location) {
      fetch(`https://api.openweathermap.org/data/2.5/weather?q=${location}&appid=${API_KEY}`)
        .then((response) => response.json())
        .then((data) => setWeather(data));
    }
  }, [location]);

  return (
    <div>
      <h1>Weather App</h1>
      <input type="text" placeholder="Enter location" value={location} onChange={(e) => setLocation(e.target.value)} />
      {weather && (
        <div>
          <p>Temperature: {weather.main.temp}°C</p>
          <p>Weather: {weather.weather[0].description}</p>
        </div>
      )}
    </div>
  );
}

export default WeatherApp;
This project teaches you how to fetch data from an external API and update your component’s state accordingly.
4. GitHub User Search
Creating a GitHub User Search application allows you to explore the concepts of routing and fetching data from an API. In this project, you can search for GitHub users and view their profiles. Here’s a simplified example using React Router and the GitHub API:
import React, { useState, useEffect } from 'react';
import { BrowserRouter as Router, Route, Link, Switch } from 'react-router-dom';

function GitHubUserSearch() {
  const [query, setQuery] = useState('');
  const [user, setUser] = useState(null);

  useEffect(() => {
    if (query) {
      fetch(`https://api.github.com/users/${query}`)
        .then((response) => response.json())
        .then((data) => setUser(data));
    }
  }, [query]);

  return (
    <Router>
      <div>
        <h1>GitHub User Search</h1>
        <input type="text" placeholder="Enter GitHub username" value={query} onChange={(e) => setQuery(e.target.value)} />
        <Link to={`/user/${query}`}>Search</Link>
        <Switch>
          <Route path="/user/:username">
            {user && (
              <div>
                <h2>{user.name}</h2>
                <p>Followers: {user.followers}</p>
                <p>Repos: {user.public_repos}</p>
              </div>
            )}
          </Route>
        </Switch>
      </div>
    </Router>
  );
}

export default GitHubUserSearch;
This project introduces you to React Router, enabling navigation between different parts of your application.
5. Movie Search App
A Movie Search App is a great project for exploring more advanced API usage and handling search queries. In this project, you can search for movies and get details about them. Here’s a simplified example using the OMDB API:
import React, { useState, useEffect } from 'react';

function MovieSearch() {
  const [query, setQuery] = useState('');
  const [movies, setMovies] = useState([]);

  const API_KEY = 'YOUR_OMDB_API_KEY';

  useEffect(() => {
    if (query) {
      fetch(`https://www.omdbapi.com/?s=${query}&apikey=${API_KEY}`)
        .then((response) => response.json())
        .then((data) => setMovies(data.Search || []));
    }
  }, [query]);

  return (
    <div>
      <h1>Movie Search</h1>
      <input type="text" placeholder="Search for a movie" value={query} onChange={(e) => setQuery(e.target.value)} />
      <ul>
        {movies.map((movie) => (
          <li key={movie.imdbID}>
            <h2>{movie.Title}</h2>
            <p>Year: {movie.Year}</p>
          </li>
        ))}
      </ul>
    </div>
  );
}

export default MovieSearch;
This project dives deeper into API integration and handling more complex data structures.
6. Calculator
Creating a simple calculator application allows you to explore how to handle user input and perform calculations. In this project, you can build a basic calculator that can add, subtract, multiply, and divide numbers. Here’s
a simplified example:
import React, { useState } from 'react';

function Calculator() {
  const [input, setInput] = useState('');
  const [result, setResult] = useState('');

  const handleInput = (value) => {
    setInput(input + value);
  };

  const calculateResult = () => {
    try {
      setResult(eval(input));
    } catch (error) {
      setResult('Error');
    }
  };

  const clearInput = () => {
    setInput('');
    setResult('');
  };

  return (
    <div>
      <h1>Calculator</h1>
      <input type="text" value={input} readOnly />
      <div className="buttons">
        <button onClick={() => handleInput('1')}>1</button>
        <button onClick={() => handleInput('2')}>2</button>
        <button onClick={() => handleInput('+')}>+</button>
        <button onClick={calculateResult}>=</button>
        <button onClick={clearInput}>C</button>
      </div>
      <div>
        <p>Result: {result}</p>
      </div>
    </div>
  );
}

export default Calculator;
This project teaches you about handling user input, performing calculations, and error handling.
7. Recipe Finder
A Recipe Finder app is a fun project for beginners to learn about complex state management and working with external APIs. In this project, you can search for recipes based on ingredients. Here’s a simplified example using the Spoonacular API:
import React, { useState, useEffect } from 'react';

function RecipeFinder() {
  const [query, setQuery] = useState('');
  const [recipes, setRecipes] = useState([]);

  const API_KEY = 'YOUR_SPOONACULAR_API_KEY';

  useEffect(() => {
    if (query) {
      fetch(`https://api.spoonacular.com/recipes/findByIngredients?ingredients=${query}&apiKey=${API_KEY}`)
        .then((response) => response.json())
        .then((data) => setRecipes(data));
    }
  }, [query]);

  return (
    <div>
      <h1>Recipe Finder</h1>
      <input type="text" placeholder="Search for recipes by ingredient" value={query} onChange={(e) => setQuery(e.target.value)} />
      <ul>
        {recipes.map((recipe) => (
          <li key={recipe.id}>
            <h2>{recipe.title}</h2>
            <p>Missing Ingredients: {recipe.missedIngredientCount}</p>
          </li>
        ))}
      </ul>
    </div>
  );
}

export default RecipeFinder;
This project extends your knowledge of API interactions and working with more complex data structures.
8. Blog Application
Creating a Blog Application is a significant step towards understanding state management and CRUD (Create, Read, Update, Delete) operations. In this project, you can build a basic blog where you can create, read, update, and delete blog posts. Here’s a simplified example:
import React, { useState } from 'react';

function BlogApp() {
  const [posts, setPosts] = useState([]);
  const [title, setTitle] = useState('');
  const [content, setContent] = useState('');
  const [editIndex, setEditIndex] = useState(null);

  const addPost = () => {
    if (title && content) {
      if (editIndex !== null) {
        const updatedPosts = [...posts];
        updatedPosts[editIndex] = { title, content };
        setPosts(updatedPosts);
        setTitle('');
        setContent('');
        setEditIndex(null);
      } else {
        setPosts([...posts, { title, content }]);
        setTitle('');
        setContent('');
      }
    }
  };

  const editPost = (index) => {
    const post = posts[index];
    setTitle(post.title);
    setContent(post.content);
    setEditIndex(index);
  };

  const deletePost = (index) => {
    const updatedPosts = [...posts];
    updatedPosts.splice(index, 1);
    setPosts(updatedPosts);
  };

  return (
    <div>
      <h1>Blog App</h1>
      <input type="text" placeholder="Title" value={title} onChange={(e) => setTitle(e.target.value)} />
      <textarea placeholder="Content" value={content} onChange={(e) => setContent(e.target.value)} />
      <button onClick={addPost}>{editIndex !== null ? 'Edit Post' : 'Add Post'}</button>
      <ul>
        {posts.map((post, index) => (
          <li key={index}>
            <h2>{post.title}</h2>
            <p>{post.content}</p>
            <button onClick={() => editPost(index)}>Edit</button>
            <button onClick={() => deletePost(index)}>Delete</button>
          </li>
        ))}
      </ul>
    </div>
  );
}

export default BlogApp;
This project provides you with the opportunity to apply your knowledge of state management and CRUD operations.
9. E-commerce Cart
Creating an E-commerce Cart is a more complex project that involves managing a shopping cart, handling user interactions, and maintaining state. In this project, you can build a basic e-commerce cart that allows users to add and remove items from their cart. Here’s a simplified example:
import React, { useState } from 'react';

function ECommerceCart() {
  const [cart, setCart] = useState([]);
  const [products] = useState([
    { id: 1, name: 'Product 1', price: 10.99 },
    { id: 2, name: 'Product 2', price: 19.99 },
    { id: 3, name: 'Product 3', price: 14.99 },
  ]);

  const addToCart = (product) => {
    setCart([...cart, product]);
  };

  const removeFromCart = (product) => {
    const updatedCart = cart.filter((item) => item.id !== product.id);
    setCart(updatedCart);
  };

  return (
    <div>
      <h1>E-commerce Cart</h1>
      <div className="product-list">
        {products.map((product) => (
          <div key={product.id} className="product">
            <h2>{product.name}</h2>
            <p>${product.price}</p>
            <button onClick={() => addToCart(product)}>Add to Cart</button>
          </div>
        ))}
      </div>
      <div className="cart">
        <h2>Shopping Cart</h2>
        <ul>
          {cart.map((item) => (
            <li key={item.id}>
              <h3>{item.name}</h3>
              <p>${item.price}</p>
              <button onClick={() => removeFromCart(item)}>Remove</button>
            </li>
          ))}
        </ul>
      </div>
    </div>
  );
}

export default ECommerceCart;
This project reinforces your knowledge of state management and user interactions.
10. Social Media Feed
The Social Media Feed project is a challenging but rewarding project for beginners. It involves creating a user interface similar to a social media platform, complete with posts, likes, comments, and user profiles. While this
is a simplified version, it can be expanded upon for more complexity:
import React, { useState } from 'react';

function SocialMediaFeed() {
  const [posts, setPosts] = useState([]);
  const [input, setInput] = useState('');

  const addPost = () => {
    if (input) {
      setPosts([{ text: input, likes: 0, comments: [] }, ...posts]);
      setInput('');
    }
  };

  const addComment = (postIndex, comment) => {
    const updatedPosts = [...posts];
    updatedPosts[postIndex].comments.push(comment);
    setPosts(updatedPosts);
  };

  const likePost = (postIndex) => {
    const updatedPosts = [...posts];
    updatedPosts[postIndex].likes += 1;
    setPosts(updatedPosts);
  };

  return (
    <div>
      <h1>Social Media Feed</h1>
      <div className="post-input">
        <input type="text" placeholder="What's on your mind?" value={input} onChange={(e) => setInput(e.target.value)} />
        <button onClick={addPost}>Post</button>
      </div>
      <div className="posts">
        {posts.map((post, index) => (
          <div key={index} className="post">
            <p>{post.text}</p>
            <button onClick={() => likePost(index)}>Like ({post.likes})</button>
            <div className="comments">
              {post.comments.map((comment, commentIndex) => (
                <p key={commentIndex}>{comment}</p>
              ))}
            </div>
            <input
              type="text"
              placeholder="Add a comment"
              onChange={(e) => {
                const comment = e.target.value;
                if (comment) {
                  addComment(index, comment);
                  e.target.value = '';
                }
              }}
            />
          </div>
        ))}
      </div>
    </div>
  );
}

export default SocialMediaFeed;
This project challenges you with handling complex data structures and user interactions.
Conclusion
As a beginner, diving into React.js can be an exciting and rewarding journey. The key to success is to start with simple projects and gradually move to more complex ones. The 10 projects we’ve covered in this article provide you with a structured path to learning React, from the basics of rendering components to handling user interactions, working with external APIs, and managing state. As you gain more experience, you can further extend and customize these projects to showcase your skills and create your own unique applications. So, don’t hesitate to jump into React.js and start building! Happy coding!
Related Posts

JavaScript Array Length
The JavaScript array is a versatile and fundamental data structure that lies at the heart of modern web development. While many developers are well-acquainted with the array’s power in storing multiple values, there’s a hidden gem within the realm of arrays that deserves its spotlight—the length property.
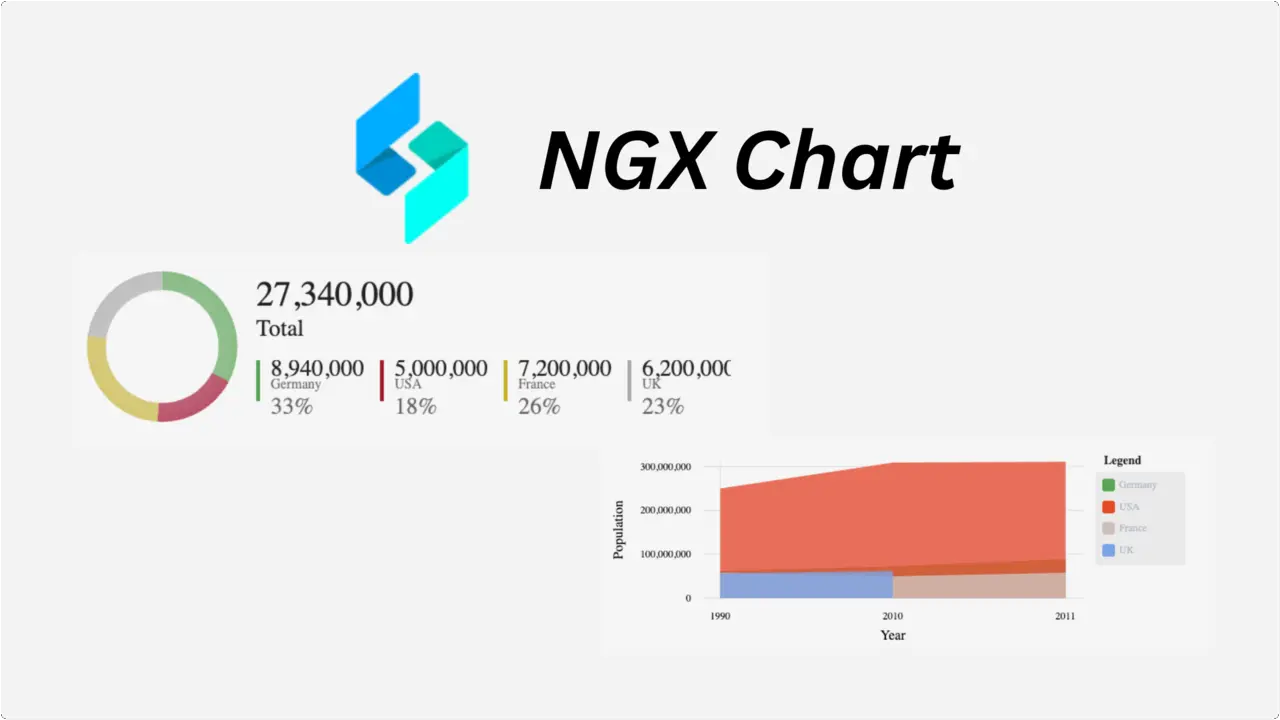
Start Using NGX Charts With Angular
Angular is a powerful front-end framework that enables developers to build robust and dynamic web applications. One essential aspect of modern web development is data visualization, and NGX Charts is a popular library that seamlessly integrates with Angular to create stunning charts and graphs.
